

Easy Mini Bat Grilled Cheese | Halloween Lunch for Kids
Pull these out of the skillet and you'll see golden-brown wings, melted cheese oozing at the edges, and a toasty, buttery smell filling the kitchen.
Just bread, cheese and butter, cut into little bat shapes with a cookie cutter, these mini sandwiches are built for lunchboxes, after-school snacks and kids who need lunch to feel a little playful.
| Prep | Cook | Total | Servings | Difficulty |
|---|---|---|---|---|
| 15 min | 10 min | 25 min | 4 servings (8 mini sandwiches) | Medium |

About the Main Ingredient
The cheese is what makes or breaks a grilled cheese, so pick slices that melt smoothly instead of separating into oily puddles. Cheddar gives sharp flavor and good color, while a slice of American or mozzarella underneath keeps everything gooey and pulls the two pieces of bread together once you cut through them. Watch the skillet closely: the bread should turn golden brown slowly over medium-low heat, giving the cheese time to melt all the way through before the crust gets too dark. If you rush the heat, you'll get a crisp outside with a cold, stiff center, so patience at the stove matters more than the shape of the cutter.
Why You'll Love This Recipe
- Ten-minute cook time. The sandwiches fry up fast, so lunch doesn't hold up the morning.
- One skillet, one cutter. You only dirty a pan, a spatula and a cookie cutter.
- Kids eat it without asking twice. The shape alone gets picky eaters to take a bite.
- Cheap pantry ingredients. Bread, cheese and butter are usually already on hand.
What You Need for Mini Bat Grilled Cheese: Ingredients
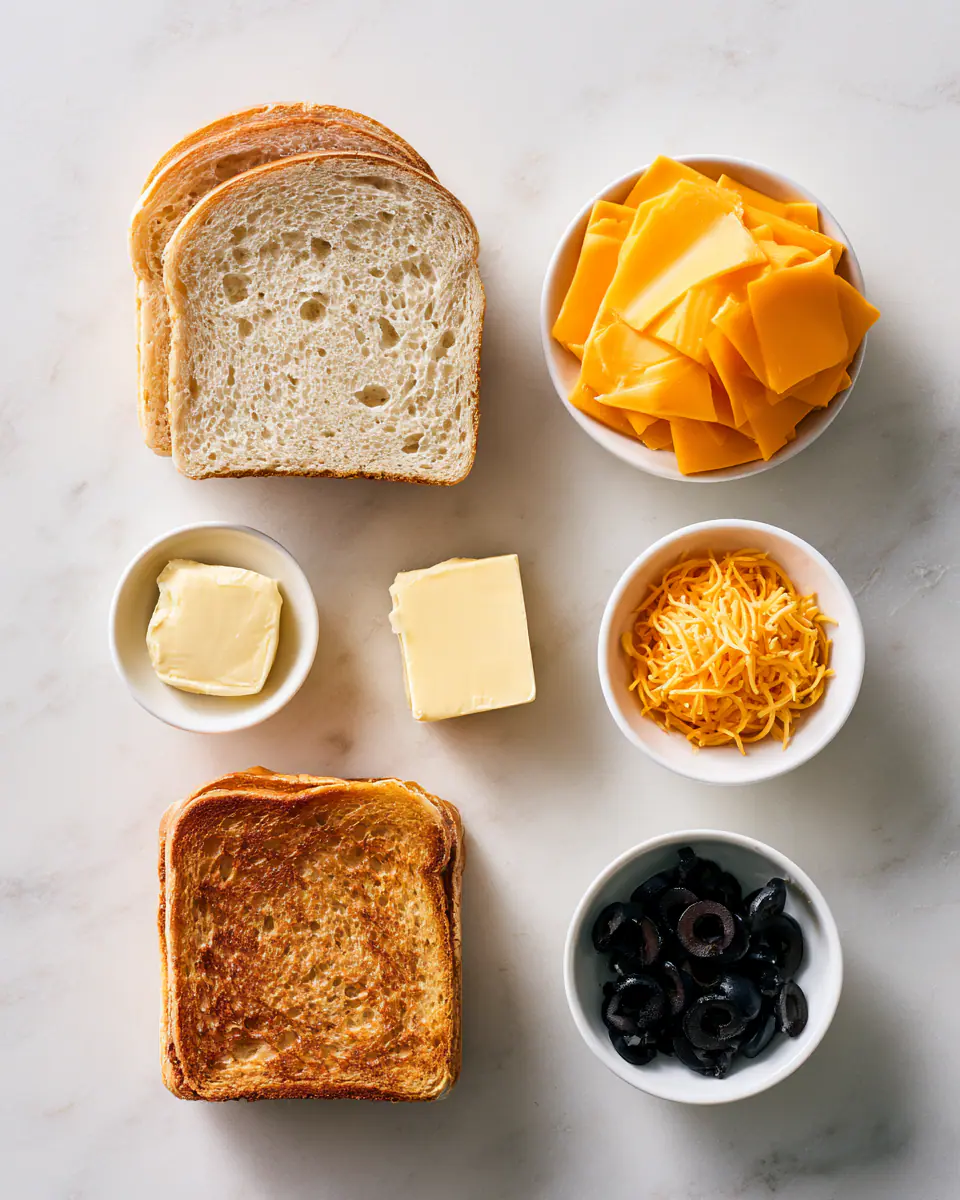
Sandwich bread (soft white or whole wheat works; thicker bakery bread holds its shape better once cut into bats).
Cheddar cheese (sharp flavor and a deep yellow color; Colby Jack is a good substitute if you want it milder).
American cheese (melts smooth and holds the sandwich together; mild mozzarella is a fine stand-in).
Butter, softened (spread on the outside for a crisp, golden crust; mayonnaise works if you're out of butter and gives an even browner crust).
Black olive slices (for little bat eyes pressed onto the top of the sandwich; a dot of ketchup or a sesame seed works too if olives aren't a favorite).
Bat-shaped cookie cutter (a 3 to 4-inch cutter is the right size for sandwich bread; a sharp paring knife and a printed template work as a backup).
Exact amounts and full measurements are in the recipe card below.
How We Make Mini Bat Grilled Cheese
- Cut the shapes first. Press the bat cookie cutter into each slice of bread before adding any fillings, so the edges stay clean and the wings don't tear.
- Layer the cheese. Stack cheddar and American cheese between two bat-shaped bread pieces, keeping the cheese just inside the edges so it doesn't spill out while melting.
- Butter the outsides. Spread softened butter evenly over both outer faces of each sandwich, all the way to the wingtips, for even browning.
- Cook low and slow. Fry in a skillet over medium-low heat, 2 to 3 minutes per side, until the bread turns deep golden brown and the cheese softens at the edges.
- Add the eyes and serve. Press two small olive slices onto each warm sandwich for eyes while the cheese is still soft enough to hold them in place.
What to Serve With It
A cup of tomato soup for dipping is the classic pairing, along with a handful of baby carrots or apple slices on the side. For a heartier lunch spread, add a scoop of Copycat Chick-fil-A Mac and Cheese or a few Grilled Shrimp Boil in Foil Packets skewers for the adults at the table.
Make Ahead and Leftovers
These sandwiches are best fresh off the skillet, since the bread softens once it sits. Store leftovers in the fridge for up to 2 days in an airtight container; freezing isn't recommended because the bread turns soggy when thawed. Reheat in a dry skillet over medium-low heat for 2 to 3 minutes per side, or in a toaster oven at 350°F for about 5 minutes, to bring back a crisp crust.
Mini Bat Grilled Cheese Questions We Get
What's the best cheese for melting evenly?
A mix of sharp cheddar and American cheese melts smoothly without going greasy. Mozzarella works too if you want a milder, stretchier bite.
How do I keep the bread from getting soggy?
Cook over medium-low heat instead of high heat, which lets the cheese melt before the bread browns too much or soaks up extra butter.
Can I make these without a cookie cutter?
A sharp paring knife and a simple bat template cut from paper work fine. Trace the shape lightly onto the bread first, then cut carefully around it.
Mini Bat Grilled Cheese
Ingredients
Method
- Cut the bread shapes: Press a 3 to 4-inch bat-shaped cookie cutter into each slice of bread before adding any filling. Cutting first keeps the edges clean and the thin wingtips from tearing.
- Layer the cheese: Place one slice of cheddar and one slice of American cheese between two bat-shaped bread pieces. Keep the cheese slightly inside the edges so it doesn't spill out as it melts.
- Butter the outsides: Spread softened butter evenly over both outer faces of each sandwich, reaching all the way to the wingtips. This helps the bread brown evenly in the skillet.
- Heat the skillet: Warm a nonstick skillet over medium-low heat for about a minute before adding the sandwiches, so the bread doesn't scorch before the cheese melts.
- Cook the first side: Lay the sandwiches in the skillet and cook for 2 to 3 minutes, until the bottom turns deep golden brown.
- Flip and cook the second side: Flip each sandwich carefully with a spatula and cook another 2 to 3 minutes, pressing lightly so the cheese melts all the way through.
- Check the melt: Gently press the center of a sandwich; it should feel soft and give slightly, meaning the cheese inside has fully melted.
- Transfer to a plate: Move the sandwiches to a plate lined with a paper towel to catch any extra butter, letting them rest for a minute.
- Add the bat eyes: While the sandwiches are still warm and the cheese is soft, press two small black olive slices onto the top of each one for eyes.
- Serve warm: Arrange the mini bat sandwiches on a plate or lunchbox tray while the cheese is still soft and gooey.
Keep Cooking
- Copycat Chick-fil-A Mac and Cheese | Crispy Baked Comfort Food: a creamy baked side that pairs well with any sandwich lunch.
- Easy Peach Cobbler Muffins | Buttery Crumble Topping Treat: a soft, crumb-topped muffin that works as a sweet finish for lunchboxes.
- Healthy Banana Oatmeal Cookies | 3-Ingredient Snack: a simple cookie kids can help make and pack alongside their sandwich.
- Copycat Olive Garden Five Cheese Ziti Al Forno, Baked to Bubbly Perfection: a bubbly baked pasta for a bigger family dinner.


